


AI Generated Artwork on Windows

Table of Contents
Motivation⌗
These were generated on my Windows 11 PC with a GeForce RTX 2080 card in just 20 seconds:
“a photograph of an astronaut riding a horse” 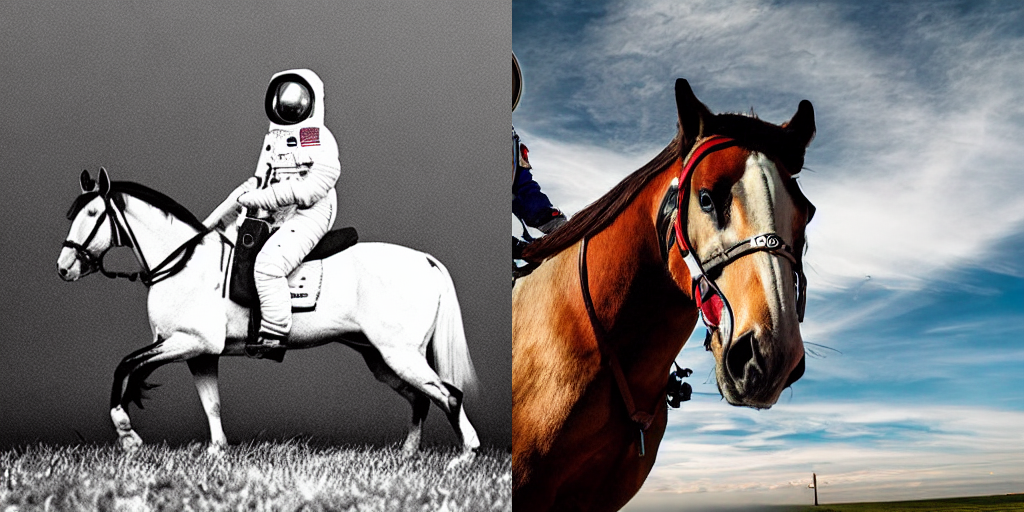
Prerequisites⌗
First we need to install the latest drivers and Python environment.
Download and install the latest Nvidia driver here: https://www.nvidia.com/download/index.aspx
Download and install the latest Nvidia CUDA driver here: https://developer.nvidia.com/cuda-downloads
Download and install Anaconda here: https://www.anaconda.com/products/distribution
From Anaconda, install “CMD.exe Prompt” and “Jupyter Notebook”.
From Anaconda’s CMD Prompt, install PyTorch. The command to run is generated by this website: https://pytorch.org/get-started/locally/ Select Stable, Windows, Pip, Python, latest CUDA. Copy and paste the command into the prompt window and hit enter.
Create an SD account⌗
We’ll be using the SD model from https://huggingface.co/CompVis/stable-diffusion-v1-4 There may be a new version at the time you’re reading this.
You’ll need to create a free account, and verify your Email address.
Set up Python Notebook⌗
We’ll be using the tool software from https://github.com/huggingface/diffusers
Download a copy of the Python notebook from here: https://colab.research.google.com/github/huggingface/notebooks/blob/main/diffusers/stable_diffusion.ipynb
Save it to your Documents folder.
From Anaconda, Launch the Jupyter Notebook app, and then navigate to the notebook file.
You can then run through each step in order, and they should all complete successfully since we installed the prerequisites.
You should probably skip the google colab step, since the package does not build properly on Windows and because our goal is to run locally not on google colab. Note that Google is actively banning people trying to do this right now.
On my limited desktop GPU, I need to use fp16 precision and can only generate two images at a time.
If I try to generate too many, the Python script fails and leaves the kernel in a bad state where it cannot generate anymore. To fix it, go to the Kernel menu and select Restart, and then run through again starting from import torch script.
Practical usage:⌗
A good workflow appears to be to generate a large number of images at lower quality, and then hand-pick a few of them to render at higher quality.
Login script (run once every week or so):
from huggingface_hub import notebook_login

notebook_login()
Setup script (run once per session):
import torch
from diffusers import StableDiffusionPipeline

# make sure you're logged in with `huggingface-cli login`
pipe = StableDiffusionPipeline.from_pretrained("CompVis/stable-diffusion-v1-4", revision="fp16", torch_dtype=torch.float16, use_auth_token=True)

pipe = pipe.to("cuda")

# Work-around a bug: Run it once to reduce memory usage.  This allows us to batch 2 at a time later for some reason.

from torch import autocast

prompt = "victory for humans"
with autocast("cuda"):
    images = pipe(prompt)["sample"]
Script to generate a bunch of images in a way that you can preview at lower quality and then re-run your favorites at higher quality:
from PIL import Image
from torch import autocast
import os

text_prompt = "blackhole eating a bagel"
steps=50 # Start with fewer steps (lower detail) and increase if you like an image to improve quality
# Steps 75 and 100 are both noticeably better jumps in quality
width=512
height=512
seed0=18736684 # Starting seed, increased by 1 for each image generated so you can generate each image again
n=50 # Number of image pairs to generate

num_images = 2
prompt = [text_prompt] * num_images

os.mkdir(text_prompt)

for x in range(0, n-1):
    seed = seed0 + x
    generator = torch.Generator("cuda").manual_seed(seed)

    with autocast("cuda"):
      images = pipe(prompt, num_inference_steps=steps, height=height, width=width, generator=generator)["sample"]

    for i, img in enumerate(images):
        img.save("{}/{}_{}.png".format(text_prompt, seed, i))
“blackhole eating a bagel” 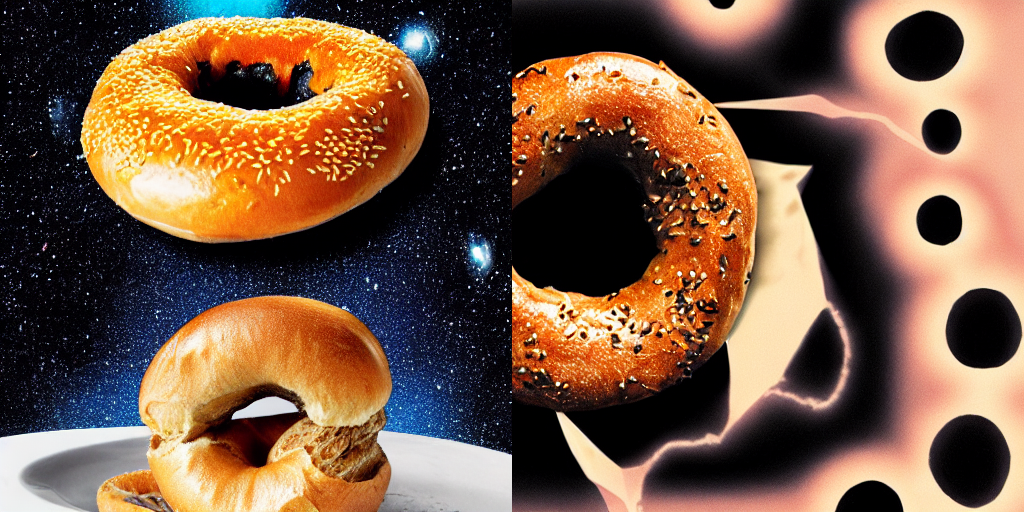
Upsampling⌗
The generated images are limited to about 512x512 pixels. To produce HD artwork for wallpaper or prints, we need to upsample.
Gigapixel AI has some good paid options for this. There’s also a free recent model that removes noise/post-processing effects and sharpens the image here: https://github.com/xinntao/Real-ESRGAN They provide a pre-built Windows CLI tool. It may not be suitable for some types of images since it cannot be configured to retain an intentional film grain look.
Advanced usage⌗
To get even better results, the diffuser readme suggests to build your own pipeline rather than using the defaults. Switching to k-lms seems to be a huge win for both quality and processing time, because you get better results in fewer steps.
Increasing the cfg scale parameter above 8 will make the output stay closer to the prompt but reduce the diversity of results. Keeping it around 7.5 seems fine if you’re going to generate a lot of images to explore the latent space.
There’s a good Twitter thread on how to start with an image as a template sketch, and add details from there: https://twitter.com/krea_ai/status/1562463398826504203?s=20&t=bxBwzWJ-ZSljCqlNG83eUA
Community resources⌗
https://www.reddit.com/r/StableDiffusion/
https://discord.gg/stablediffusion
Prompt style guide: https://imgur.com/a/2Fi9q5G